Homemade Pickle Recipe: Easy and Delicious Dill Pickles for the Whole Family
Love pickles? Learn how to make homemade dill pickles with this easy recipe! Perfect for families, these crunchy, flavorful pickles are a simple, healthy snack you can make at home. Inspired by Foodie with Family.
This blog post may contain affiliate links. When you make a purchase through these links, I may earn a small commission, at no additional cost to you. I only recommend products that I genuinely believe can benefit you and your family! Your support helps maintain and improve all things A Pop of You. Thanks so much!
Simple & Delicious Homemade Pickle Recipe
Let’s talk pickles. They’ve been a crunchy, tangy, snack-time favorite for ages, and they’ve earned their spot as a go-to for everything from burgers to charcuterie boards. But here’s the twist—making your own pickles is surprisingly simple, and it’s a fun little project to get the kids involved in, especially if you want to skip the weird artificial stuff. Plus, homemade pickles? They’re fresher, healthier, and far more satisfying. So, grab some cucumbers and let’s dive in!
Why Make Pickles at Home?
You could hit the grocery store and grab a jar off the shelf, but hear me out—making your own pickles is totally worth it. Whether you’re a kitchen novice or a seasoned pro, here’s why:
- Healthier: When you make pickles at home, you’re in control of the ingredients—no mystery preservatives or artificial additives sneaking in. That means cleaner, healthier snacks for your kids (and you too).
- Cheaper: Pickling cucumbers are cheap in bulk. Compare that to the price of store-bought pickles, and you’ll see the savings add up.
- Flavor Your Way: Do you love garlic? Spice? Maybe both? Making pickles lets you play with flavors and cater to your family’s preferences.
- Teaching Moment: Pickling is a great way to introduce the little ones to kitchen basics. They can help wash cucumbers, mix spices, and even pack the jars.
- Satisfying: There’s something so rewarding about transforming fresh cucumbers into crispy, flavorful pickles. Plus, you get to enjoy your creation every time you open the jar.
What You’ll Need
Gather these supplies before you start, and you’ll be all set to pickle like a pro:
Equipment:
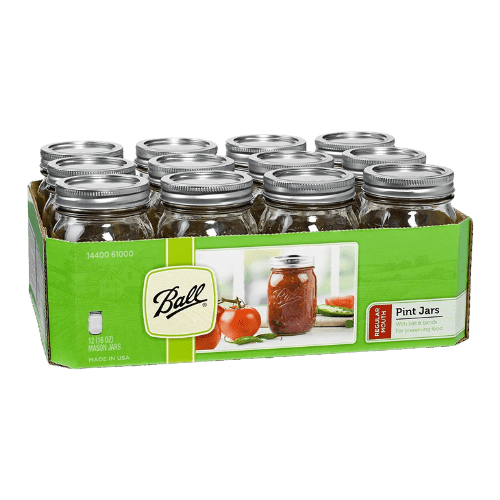
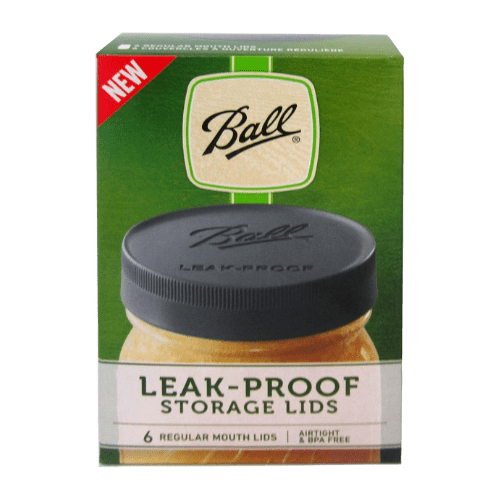
- Glass Jars & Lids
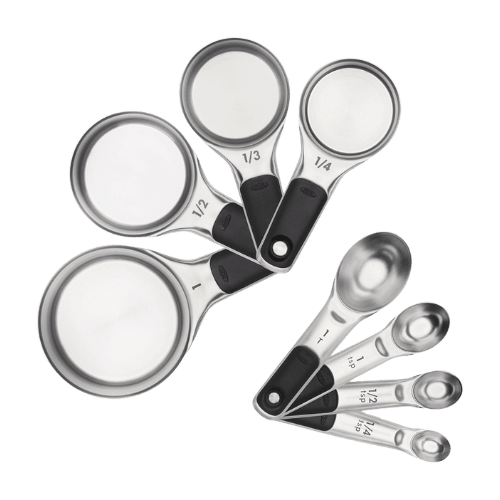
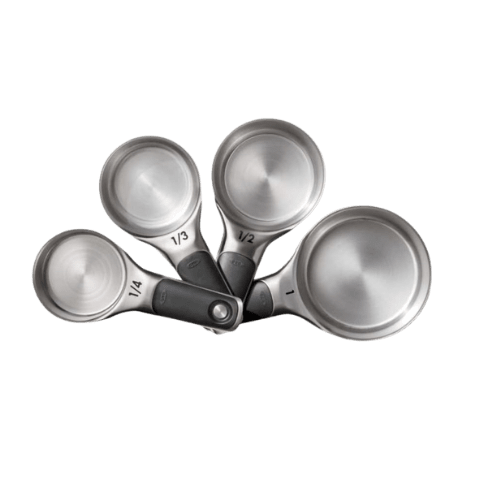
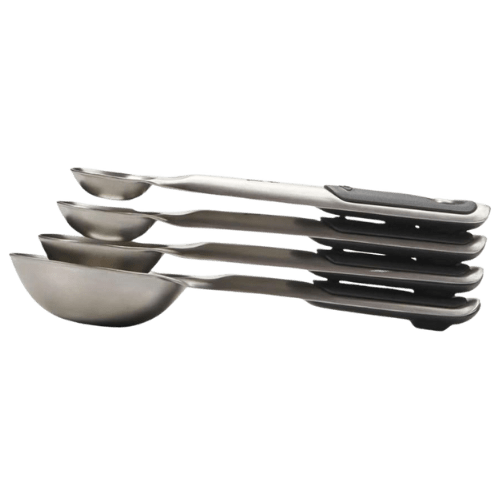
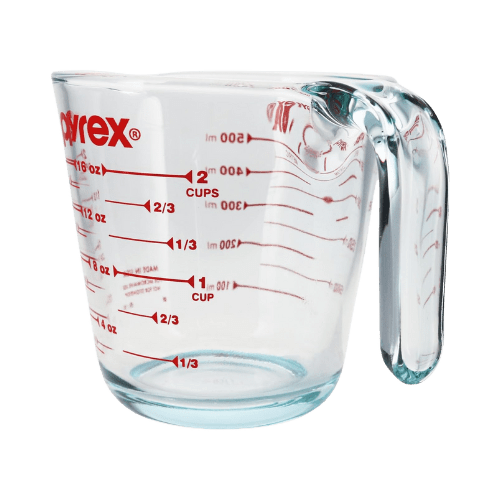
- Measuring Cups & Spoons
- Cutting Board
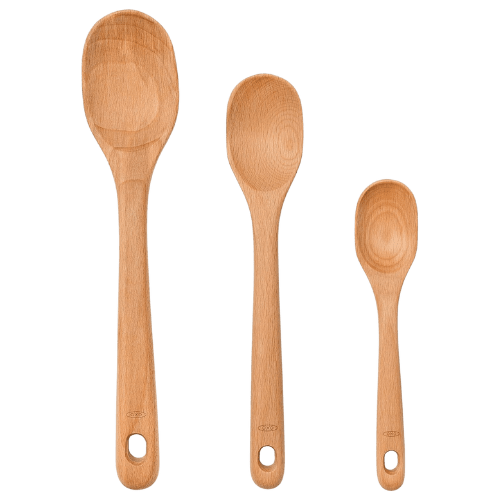
- Wooden Spoon
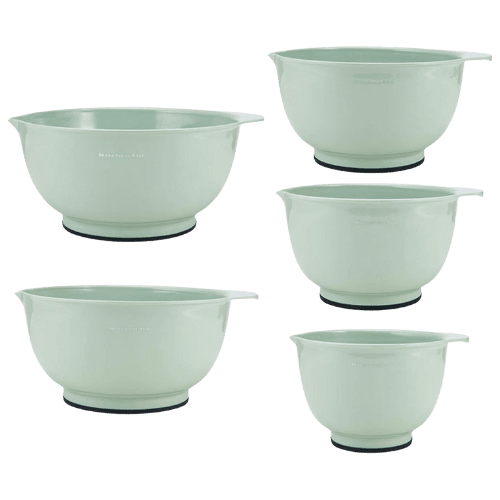
- Mixing Bowls
Ingredients:
- Small to Medium Pickling Cucumbers
- Apple Cider Vinegar
- Kosher Salt
- Garlic
- Fresh Dill or Dill Seeds
- Pickling Spices (mustard seeds, peppercorns, etc.)
Step-by-Step Guide: How to Make Pickles at Home
Don’t let the “recipe” part intimidate you. It’s easier than it sounds. Here’s your simple, no-fuss guide to pickling perfection:
- Prep the Cucumbers: Start with fresh, firm cucumbers. The fresher, the crunchier. Slice them into halves or quarters, depending on how thick you want your pickles. Trimming the blossom end (the end opposite the stem) will help ensure they stay crisp.
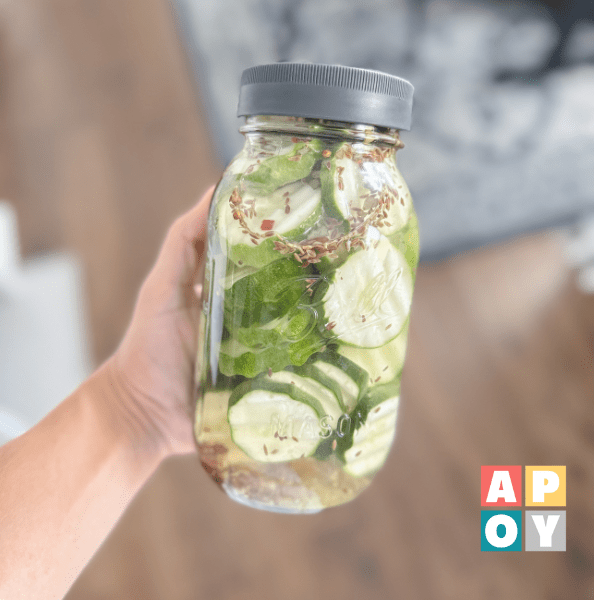
- Layer the Flavors: In a large jar (or several smaller ones if you’re making a batch), start layering. First, add dill, garlic, and pickling spices. Then, pack in the cucumber slices. If you’re dividing it up between smaller jars, just divide the spices and garlic accordingly.
- Make the Brine: Mix your brine ingredients—apple cider vinegar, kosher salt, and water—in a separate container. Stir until the salt dissolves. Pro tip: Make extra brine, just in case you need to top it off later. You’ll have more brine than jar space, so keep the leftovers in the fridge.
- Submerge the Cucumbers: Pour the brine over the cucumbers until they’re fully submerged. If they float above the brine, use a plate or a heavy object (like a ziplock bag of beans) to keep them under. This ensures they stay crunchy and pickle properly.
- Let Them Ferment: Cover the jar loosely and leave it on the counter (out of direct sunlight) for 2-4 days. You’ll notice bubbling as the cucumbers ferment, and that’s a good sign—it means they’re getting that pickle flavor. Taste one after a few days to see if they’re picklicious. If not, give them a little more time.
- Refrigerate & Enjoy!: Once your pickles reach your desired level of tangy goodness, move them to the fridge. The cool temperature will slow down the fermentation process and keep them fresh. Patience is key here—though, honestly, you’ll probably be nibbling on them long before they’re officially “ready.”
Pickles as Toddler Snacks: Healthy and Fun!
Pickles aren’t just for grown-ups—they’re a fantastic snack for toddlers too. Here’s why:
- Probiotics: Fermented pickles are full of probiotics, which help your little ones’ tummies stay healthy.
- Low-Calorie Snack: No guilt here! Pickles are a low-calorie snack that still gives kids something crunchy to munch on.
- Hydration: Cucumbers are packed with water, helping to keep your kids hydrated, especially when they’re running around all day.
Fun Pickle Snacks for Kids
- Pickle Pops: Freeze pickle slices on sticks for a refreshing treat.
- Pickle Sandwiches: Add a crunchy pickle to mini sandwiches.
- Pickle Roll-Ups: Wrap deli meat around pickles for a protein-packed snack.
- Pickle Dip: Blend pickles with cream cheese for an easy veggie dip.
Exploring Different Pickle Varieties
Once you’ve mastered the classic dill pickle, why not try some new variations? Here are a few ideas to keep your pickling journey exciting:
- Bread and Butter Pickles: Sweet and tangy with a perfect balance of flavors. These are great if you like a milder pickle. Just add sugar to your vinegar brine along with mustard seeds, celery seeds, and turmeric.
- Spicy Jalapeño Pickles: For heat lovers, jalapeños take pickles to the next level. Layer cucumbers and jalapeños in a jar, pour over a spicy vinegar brine, and you’re set for some fiery snacks.
- Sweet and Sour Pickles: The combo of sugar and vinegar creates a delightful balance of tart and sweet. These are perfect for salads or as a side with sandwiches.
Troubleshooting Pickle Making: Tips for Success
Pickle-making is pretty foolproof, but if something goes wrong, here are a few quick fixes:
- Soft Pickles: Trim the blossom end of the cucumbers and make sure they’re fully submerged in the brine.
- Cloudy Brine: Use distilled water and kosher salt to avoid impurities. Make sure everything is clean and sterilized.
- Overly Salty Pickles: If your brine is too salty, either use less salt next time or soak your pickles in cold water for a few hours to cut the saltiness.
- Mold Growth: If mold appears, your cucumbers weren’t fully submerged. Remove any moldy pickles, then top off the brine next time.
Enjoying Your Homemade Pickles
Making pickles is a rewarding, fun process—and the best part? You get to enjoy them as a healthy snack, side dish, or gift. Whether you’re keeping it classic or experimenting with flavors, homemade pickles are sure to be a hit. Happy pickling!
RECIPE CREDIT:
This recipe was inspired by Foodie with Family. For more delightful pickle recipes, visit https://www.foodiewithfamily.com/homemade-claussen-knock-off-pickles/


Hey There,
I’m Katelyn!

Hi, I’m Katelyn! Join me for creative, intentional family fun and practical home management tips! Parenting is hard, but I’ve got the tools to help you create a calmer, more intentional home!

BROWSE MY
TOY RECS

resourceS

SHOP LEARNING RESOURCES


Subscribe to the empty mug club

GET OUR DAILY TO-DOS FREE!
Plus, get the latest achievable learning activities, easy recipes, storage solutions, teacher-approved toy suggestions + exclusive discounts to Becoming You learning resources straight to your inbox!


About Katelyn Collier , MAT
Katelyn Collier is a former elementary school teacher turned homeschooling mom of three and the founder of A Pop of You. She’s passionate about helping families step away from the pressure of today’s fast-paced culture and create homes filled with presence, joy, and balance. Through her resources and podcast, she shares simple, practical tools to reclaim childhood and make family life feel lighter and more intentional.
Masters DEgree in elementary education
VOICE OF BECOMING UNPOPULAR, A PODCAST COMING SOON!
CREATOR OF BECOMING YOU, A KIDS’ LEARNING RESOURCE LINE


FIND MORE INSPIRATION
Even More Achievable Ideas

