How to Make Homemade Rainbow Popsicles: Easy and Kid-Friendly Recipe!
Whip up homemade rainbow popsicles with Dixie cups, vanilla pudding or yogurt, and dye-free food coloring! This quick and easy kid-friendly recipe brings a colorful twist to snack time.
This blog post may contain affiliate links. When you make a purchase through these links, I may earn a small commission, at no additional cost to you. I only recommend products that I genuinely believe can benefit you and your family! Your support helps maintain and improve all things A Pop of You. Thanks so much!
Homemade Rainbow Popsicles: A Summer Must-Do
Summer heat got you melting faster than your toddler’s crayon masterpiece on the dashboard? Let’s fix that with a cool, colorful treat: homemade rainbow popsicles! These aren’t just popsicles – they’re a sanity-saving activity disguised as a snack. Bonus? You’ll score major parent points for the “Wow!” factor.
Picture this: you, a kitchen counter, your kids excitedly layering colors like budding pastry chefs, and maybe, just maybe, a few blissful minutes where no one is asking for snacks because they’re busy making snacks.
What You’ll Need
Before you start, let’s gather the goods. Here’s your VIP list for rainbow pudding popsicles:
Ingredients:
- 2 cups homemade vanilla pudding or vanilla yogurt (store-bought works too – no judgment here!)
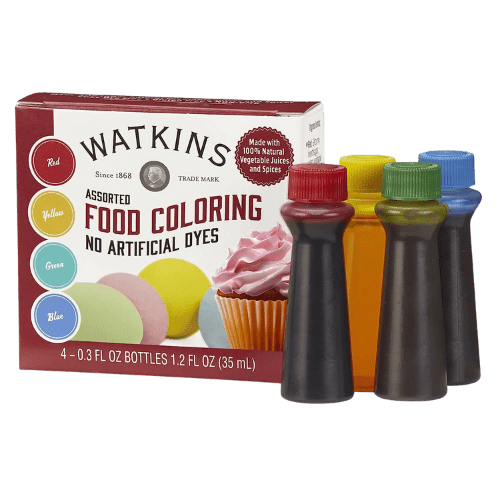
- Dye-free food coloring
Supplies:
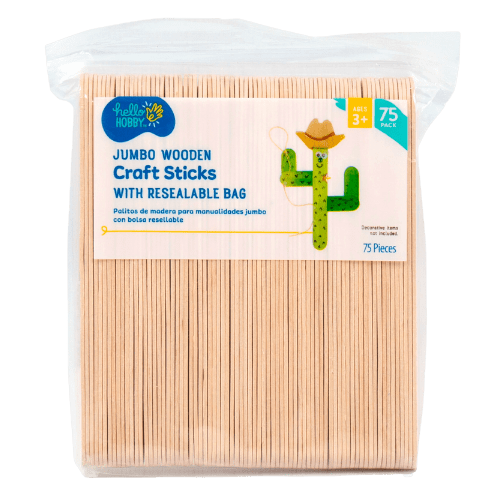
- Jumbo craft sticks
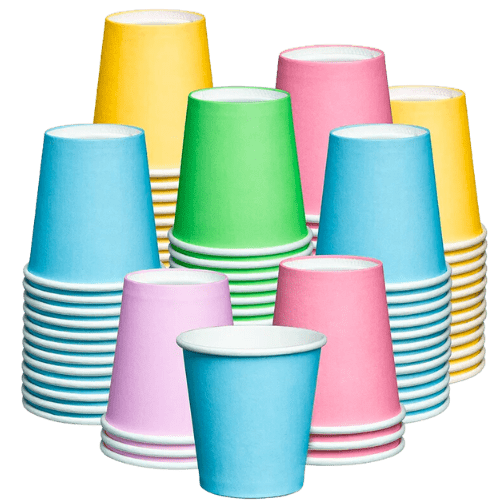
- 3oz paper cups
The “Let’s Do This” Steps
- Make the pudding. If you’re feeling ambitious, whip up some homemade vanilla pudding. If you’re feeling “it’s Tuesday and I’m tired,” grab the boxed stuff or vanilla yogurt. Both are winners.
- Scoop your pudding or yogurt into six bowls. Each one will be a different color of the rainbow.
- Add a few drops of dye-free food coloring to each bowl. Red, orange, yellow, green, blue, and purple – the whole rainbow vibe. Stir until the colors are vibrant and ready to impress.
- Grab your cups and start with red at the bottom. Use a spoon to gently layer the colors one by one. Pro tip: Go slow. You want stripes, not a tie-dye explosion.
- Add a popsicle stick to each cup, then slide your masterpieces onto a flat surface in the freezer. Let them freeze overnight or at least 6-8 hours. (This is where the magic happens, folks.)
Why Go Homemade?
Sure, you could grab a box of popsicles at the store, but where’s the fun in that? Making your own is where it’s at, and here’s why:
- Healthier Ingredients: You’re in control. No weird additives or extra sugar. Just simple, wholesome goodness.
- Customization: Want to go full rainbow? Cool. Prefer two colors? Totally fine. Catering to dietary restrictions? You’re the boss here.
- Bonding Time: The kitchen becomes your classroom and your playground. Measurements, patience, and creativity – all in one sticky, fun package.
The Big Reveal
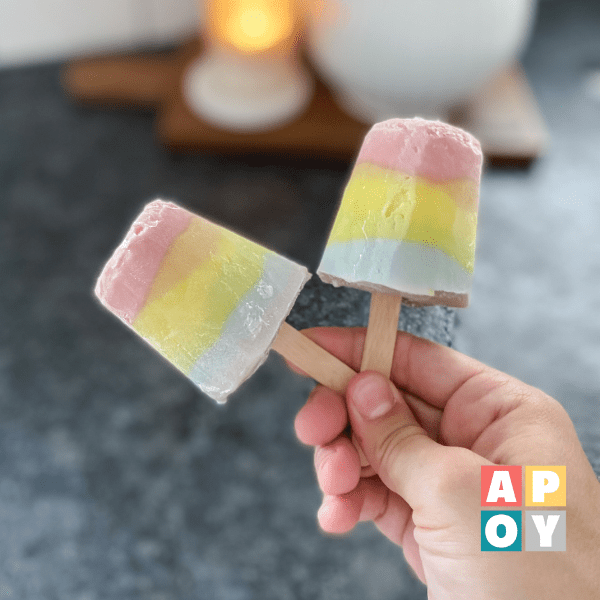
The next day, the freezer door swings open like a treasure chest. Gently peel away the cups to unveil the most dazzling rainbow stripes your kids have ever seen. Cue the squeals of delight and immediate requests for seconds. (Pro tip: Hide a stash for yourself. You deserve it.)
These popsicles aren’t just a treat; they’re a memory. Perfect for sunny afternoons, birthday party wow-moments, or even just a random Tuesday when you’re looking to shake up the snack game.
So, grab those ingredients, round up the kids, and get ready for a little kitchen magic. Because let’s be real – the best moments aren’t the fancy, over-planned ones. They’re the simple, colorful, slightly messy ones that taste like summer. Enjoy!


Hey There,
I’m Katelyn!

Hi, I’m Katelyn! Join me for creative, intentional family fun and practical home management tips! Parenting is hard, but I’ve got the tools to help you create a calmer, more intentional home!

BROWSE MY
TOY RECS

resourceS

SHOP LEARNING RESOURCES


Subscribe to the empty mug club

GET OUR DAILY TO-DOS FREE!
Plus, get the latest achievable learning activities, easy recipes, storage solutions, teacher-approved toy suggestions + exclusive discounts to Becoming You learning resources straight to your inbox!


About Katelyn Collier , MAT
Katelyn Collier is a former elementary school teacher turned homeschooling mom of three and the founder of A Pop of You. She’s passionate about helping families step away from the pressure of today’s fast-paced culture and create homes filled with presence, joy, and balance. Through her resources and podcast, she shares simple, practical tools to reclaim childhood and make family life feel lighter and more intentional.
Masters DEgree in elementary education
VOICE OF BECOMING UNPOPULAR, A PODCAST COMING SOON!
CREATOR OF BECOMING YOU, A KIDS’ LEARNING RESOURCE LINE


FIND MORE INSPIRATION
Even More Achievable Ideas

