Patriotic Start Thumbprint Craft: A Mesmerizing 4th of July Activity for Preschoolers
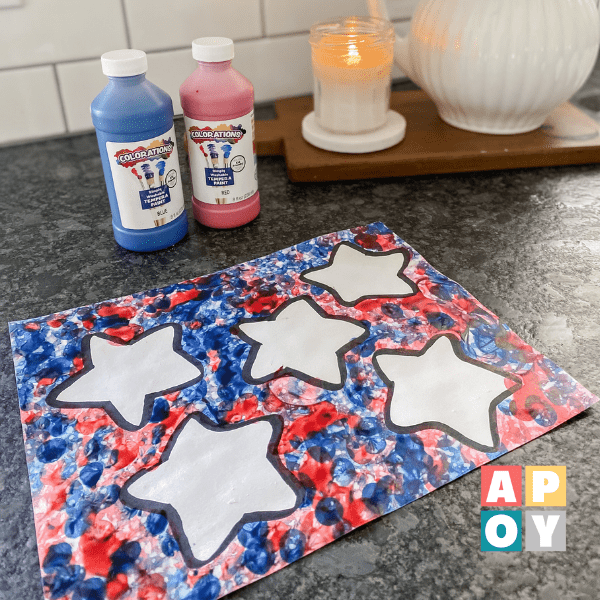
Create a dazzling Patriotic Star Thumbprint craft with your preschoolers this 4th of July! Let your little ones stamp vibrant thumbprints around star cutouts to form colorful, festive designs. It’s a simple, hands-on activity your kids will love and cherish!
This blog post may contain affiliate links. When you make a purchase through these links, I may earn a small commission, at no additional cost to you. I only recommend products that I genuinely believe can benefit you and your family! Your support helps maintain and improve all things A Pop of You. Thanks so much!
Patriotic Star Thumbprint Craft: A Red, White, and Blue Adventure
Ready to keep those preschoolers busy while sneaking in a little fine motor skill development? Enter the Patriotic Star Thumbprint Craft! This simple, mess-friendly (well, mostly!) 4th of July activity is a surefire way to keep little hands entertained while creating something festive and oh-so-adorable. Bonus: you’ll end up with a sweet keepsake for the fridge—or at least until the next round of artwork arrives.
Why Thumbprint Art is a Win
Here’s why thumbprint art is your new BFF:
- Fine motor magic: Dipping thumbs into paint and pressing just right? Perfect for those little hand muscles.
- Creativity boost: With colors and patterns to mix and match, the sky’s the limit—or should we say the stars?
- Confidence builder: Watching their tiny thumbprints turn into a masterpiece is like watching them discover a superpower.
Materials (aka Stuff You Probably Already Have)
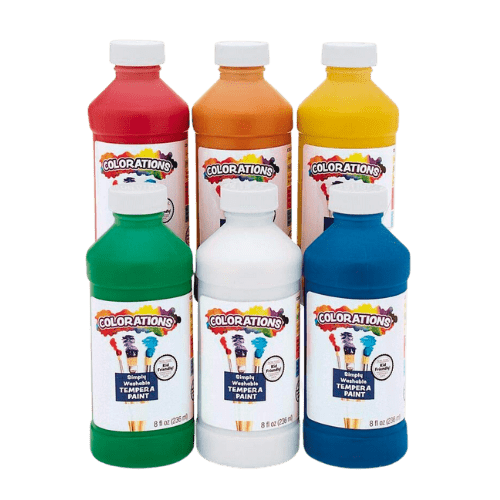
- Red, white, and blue washable paints
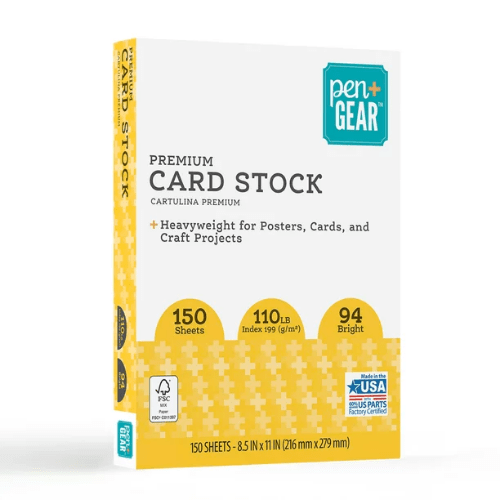
- White cardstock or construction paper
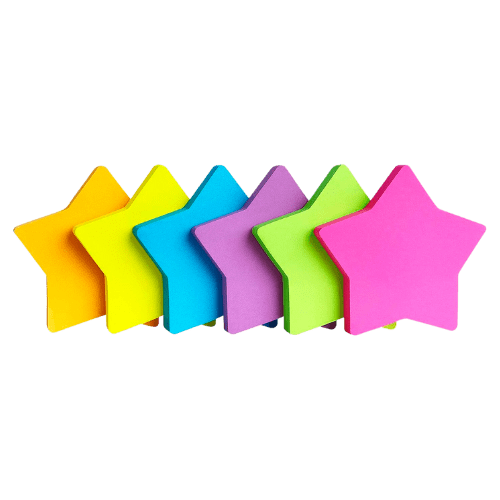
- Star stencil or sticky notes shaped like stars
- Pencil
- Scissors
- Glue stick (optional, but we love a good craft backup plan)
- Art smock or old shirt (trust us, it’s worth it)
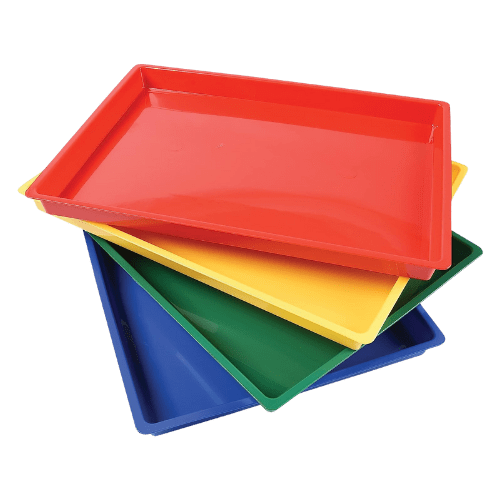
- Art trays or paper plates for paint
How to Create Patriotic Thumbprint Stars
- Start with a star (or a few): Trace star shapes onto cardstock using a stencil or sticky notes. Cut them out if needed.
- Stick ‘em down: Lightly tape your stars to another piece of cardstock. This creates the negative space for your star design.
- Get stamping: Show your child how to dip their thumb into paint and press around the edges of each star. Let them go wild with color combos—this is where the fun (and mess) happens!
- Fill the page: Encourage thumbprints all over the paper, not just around the stars.
- Let it dry: Once their thumbprint masterpiece is complete, let the paint dry fully.
- The big reveal: Carefully peel off the stars to unveil crisp, thumbprint-outlined shapes. Cue the oohs and aahs!
More Fun Thumbprint Ideas
If your kids are hooked on stamping their thumbs, why stop at stars? Here are a few ideas to keep the thumbprint train rolling:
- Flags: Alternate red and white thumbprints for stripes, then add a corner of blue with dotted white stars.
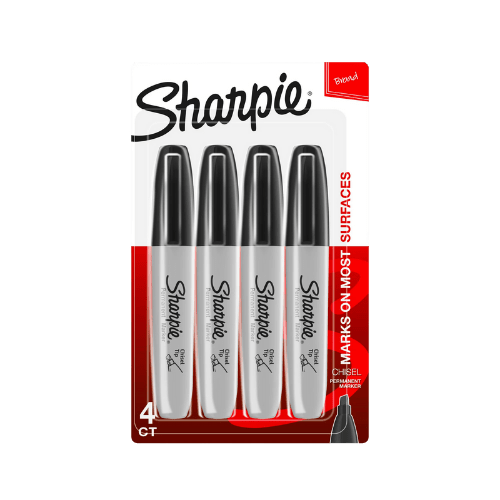
- Fireworks: Stamp thumbprints in bursts, then add lines with a marker for an explosion of color.
- Rockets: Use a thumbprint as the base, then draw on fins and flames with markers for a rocket ready to blast off.
The Keepsake Factor
This craft isn’t just an activity—it’s a snapshot of those tiny thumbs at this moment in time. Frame it, gift it to Grandma, or stash it in your “forever art” pile. And if it gets a little messy along the way? That’s part of the fun.


Hey There,
I’m Katelyn!

Hi, I’m Katelyn! Join me for creative, intentional family fun and practical home management tips! Parenting is hard, but I’ve got the tools to help you create a calmer, more intentional home!

BROWSE MY
TOY RECS

resourceS

SHOP LEARNING RESOURCES


Subscribe to the empty mug club

GET OUR DAILY TO-DOS FREE!
Plus, get the latest achievable learning activities, easy recipes, storage solutions, teacher-approved toy suggestions + exclusive discounts to Becoming You learning resources straight to your inbox!


About Katelyn Collier , MAT
Katelyn Collier is a former elementary school teacher turned homeschooling mom of three and the founder of A Pop of You. She’s passionate about helping families step away from the pressure of today’s fast-paced culture and create homes filled with presence, joy, and balance. Through her resources and podcast, she shares simple, practical tools to reclaim childhood and make family life feel lighter and more intentional.
Masters DEgree in elementary education
VOICE OF BECOMING UNPOPULAR, A PODCAST COMING SOON!
CREATOR OF BECOMING YOU, A KIDS’ LEARNING RESOURCE LINE


FIND MORE INSPIRATION
Even More Achievable Ideas

